How to check Windows services and network protocols requirements
This help page is to check that all Windows services and network protocols required for UserLock for accesses made by UserLock from the server to workstations, and from workstations to the server, are authorized.
The Windows services and network protocols requirements for UserLock are listed in the Requirements help page.
Ensure that you set a UserLock service impersonation account with administrative rights on all target computers
The first thing to do is to verify the procedure as documented on the HTF005 - Configure an account with administrative rights on computers to protect help page.
Get the FQDN of the target computer
Run the UserLock Console. Run UserLockPowerShell, then run the following command (replacing “COMPUTERNAME” with the NetBios name of the target computer):
- (Get-UserLockAgentDistribution -Name COMPUTERNAME).Fqdn
Example with the VW6264VD01 computer:

Test PING and File and Printer Sharing
From the UserLock server to the target computer
Log on to the UserLock server with the user account set in the Service account section of the Configuration wizard. If you do not remember the user account you set, you can get it from the Service impersonation section of Server Properties.
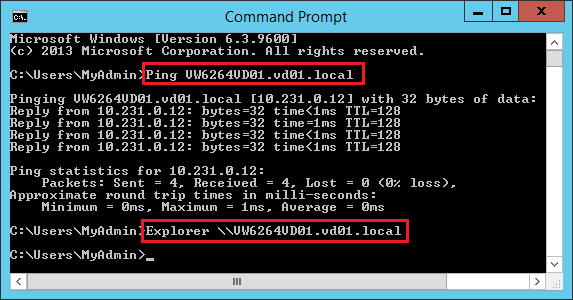
Run CMD, then run the following commands (replacing “COMPUTERFQDN” with the FQDN of the target computer):
- Ping COMPUTERFQDN
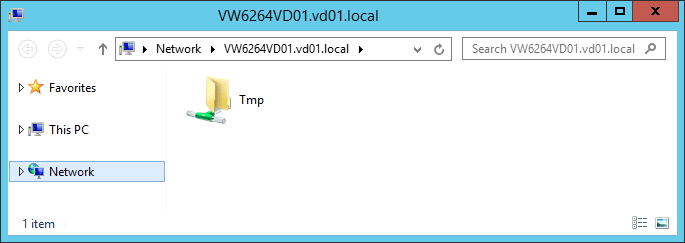
- Explorer \\COMPUTERFQDN
You should receive the following result:
Example with the VW6264VD01 computer:
Note about the FQDN
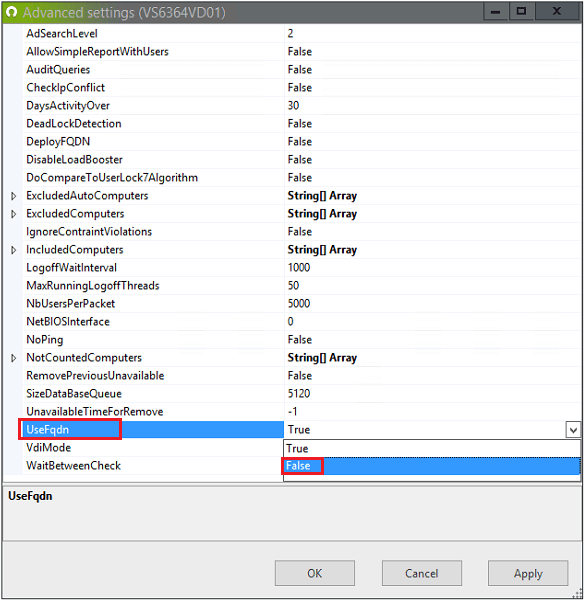
By default, the UserLock service uses the FQDN to connect to all protected computers. To use the NetBios name instead, set the "UseFqdn" to False in Advanced settings (hitting the F7 keyboard key from the UserLock Console):
From a workstation to the UserLock server
Log on a workstation as a standard user.
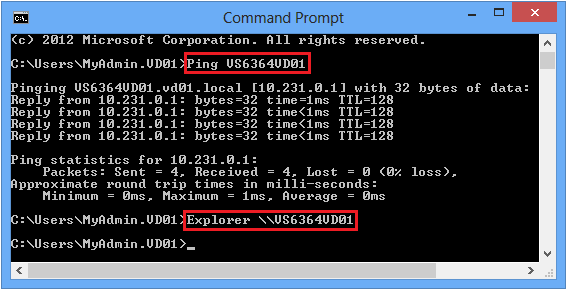
Run CMD, then run the following commands (replacing “USERLOCKSERVER” with the NetBios name of the UserLock server):
- Ping USERLOCKSERVER
- Explorer \\USERLOCKSERVER
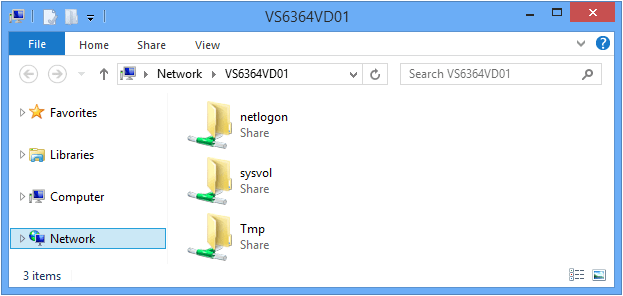
You should get the following result:
Example from the VW6264VD01 computer to the VS6364VD01 UserLock server:
Note about the NetBios name
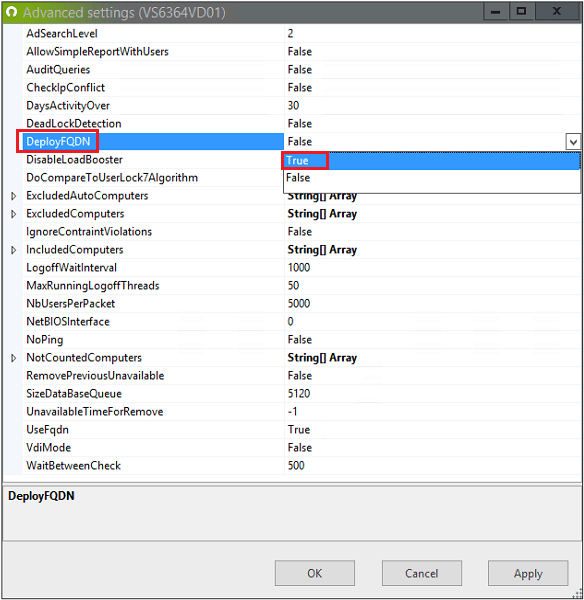
By default, all protected computers uses the NetBios name of the UserLock server to connect to it. To use the FQDN instead, set the "DeployFqdn" to True in Advanced settings (hitting the F7 keyboard key from the UserLock Console):
Check that the UserLock service impersonation account has administrative rights on the target computer
Log on to the UserLock server with the user account set in the Service account section of the Configuration wizard. If you do not remember the user account you set, you can get it from the Service impersonation section of Server Properties.
Run CMD, then run the following commands (replacing “COMPUTERFQDN” with the FQDN of the target computer):
- Explorer \\COMPUTERFQDN\c$
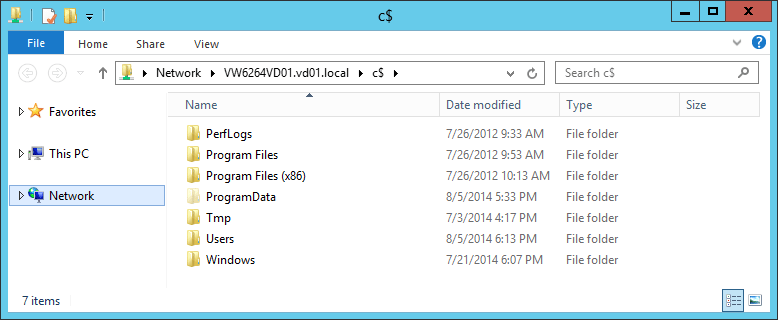
you should receive the following result:
Example with the VW6264VD01 computer:

Check that the UserLock service impersonation account has remote access to the registry of the target computer
Log on to the UserLock server with the user account set in the Service account section of the Configuration wizard. If you do not remember the user account you set, you can get it from the Service impersonation section of Server Properties.
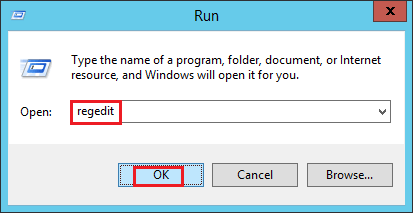
Run RegEdit:
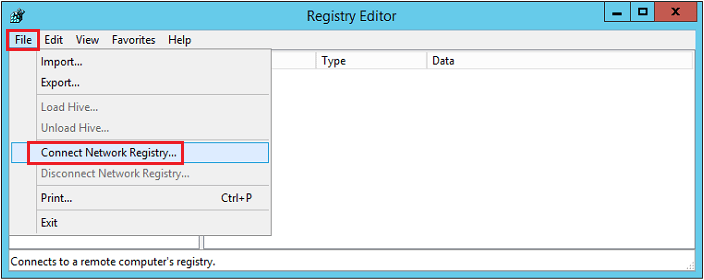
In the "File" menu, select "Connect Network Registry...":
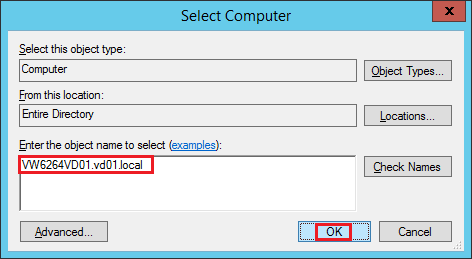
Type the FQDN of the atrget computer, then validate with OK:
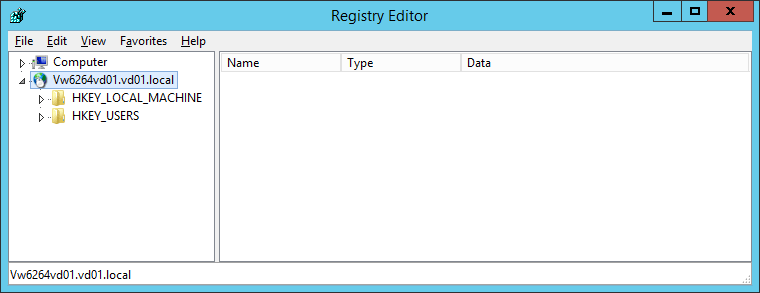
You should get the following result:
Example with the VW6264VD01 computer:
Advanced
User friendly way to check Windows services and network protocols requirements
Consider the USR1 user account, and the WRK1 and WRK2 workstations.
Deploy the agent on WRK1 and WRK2 workstations. If it was already installed, please uninstall it, then install again to ensure that this communication side is OK.
Create the USR1 protected account.
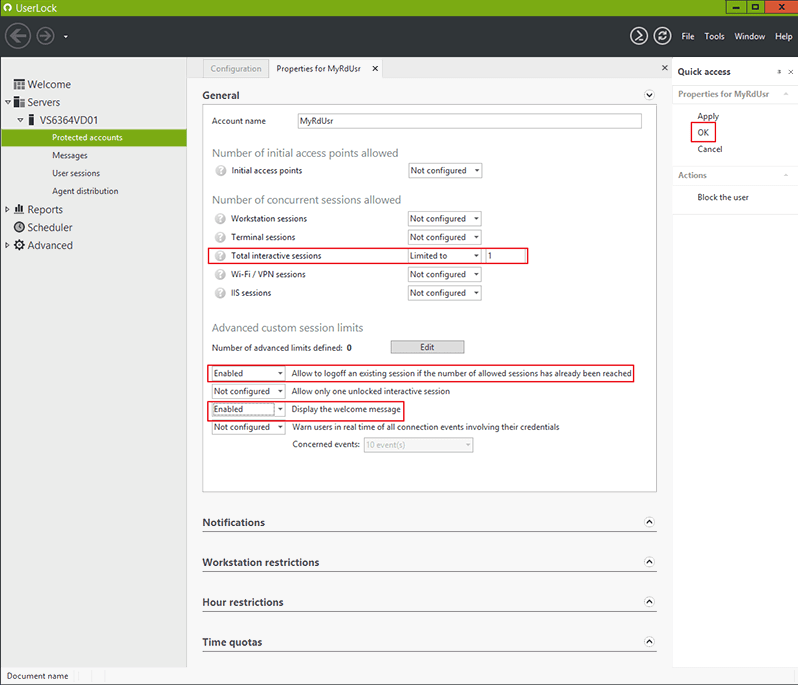
Configure it as follows:
- Enable the "Display the welcome message" setting.
- Set 1 as the "Total interactive sessions" feature.
- Enable the "Allow to logoff an existing session if the number of allowed sessions has already been reached" setting.
Log on WRK1 as USR1. The welcome message should be displayed.
Log on WRK2 as USR1. The dialog box to log off the session on WRK1 should be displayed. Close it, then log on. There should be no error, and the welcome message should be displayed.
How to check the rights in details
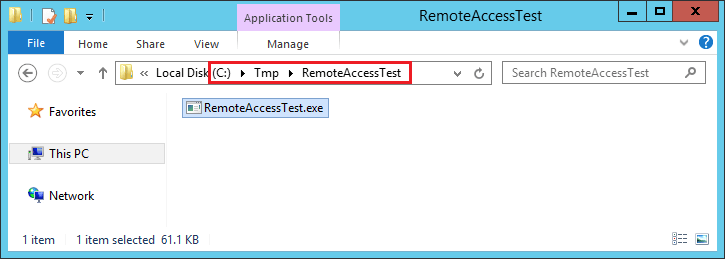
Download the RemoteAccessTest from the same session, extract it, for example in C:\Tmp\:
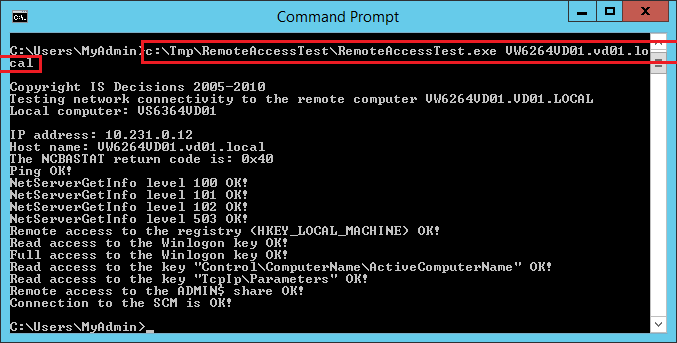
Run CMD, then run the following commands (replacing “COMPUTERFQDN” with the FQDN of the target computer):
- RemoteAccessTest.exe COMPUTERFQDN
You should get the following result:
Example with the VW6264VD01 computer:
Please send us the result of the RemoteAccessTest.