Implementing Multi-Factor Authentication
Here is a step-by-step guide on how to enable multi-factor authentication (MFA) for a user.
-
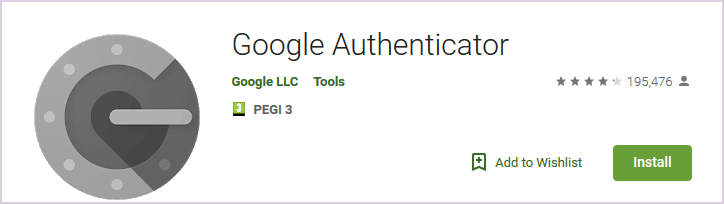
Install an Authenticator application on your mobile phone
For example, Google Authenticator:
Regardless of the application you choose, make sure the date and time of the end user's smartphone are correct (it is recommended to set the date and time automatically), otherwise the codes generated by the application cannot be validated.
-
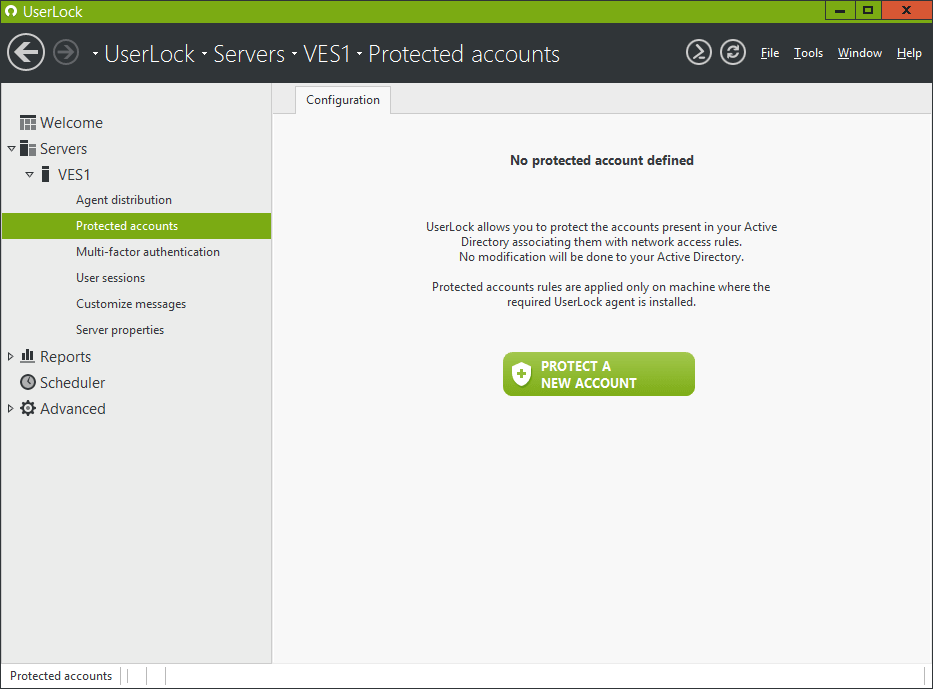
Set an MFA restriction
In the “Protected accounts” view, click on the “PROTECT A NEW ACCOUNT" button:
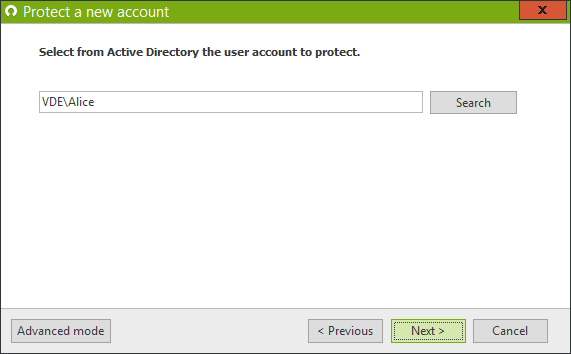
Select “User”:

“VDE\Alice” (for example):
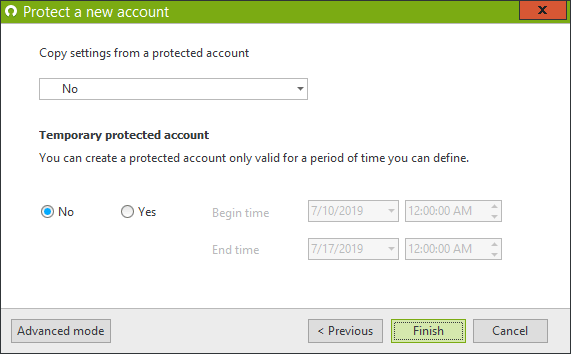
Click on Finish:
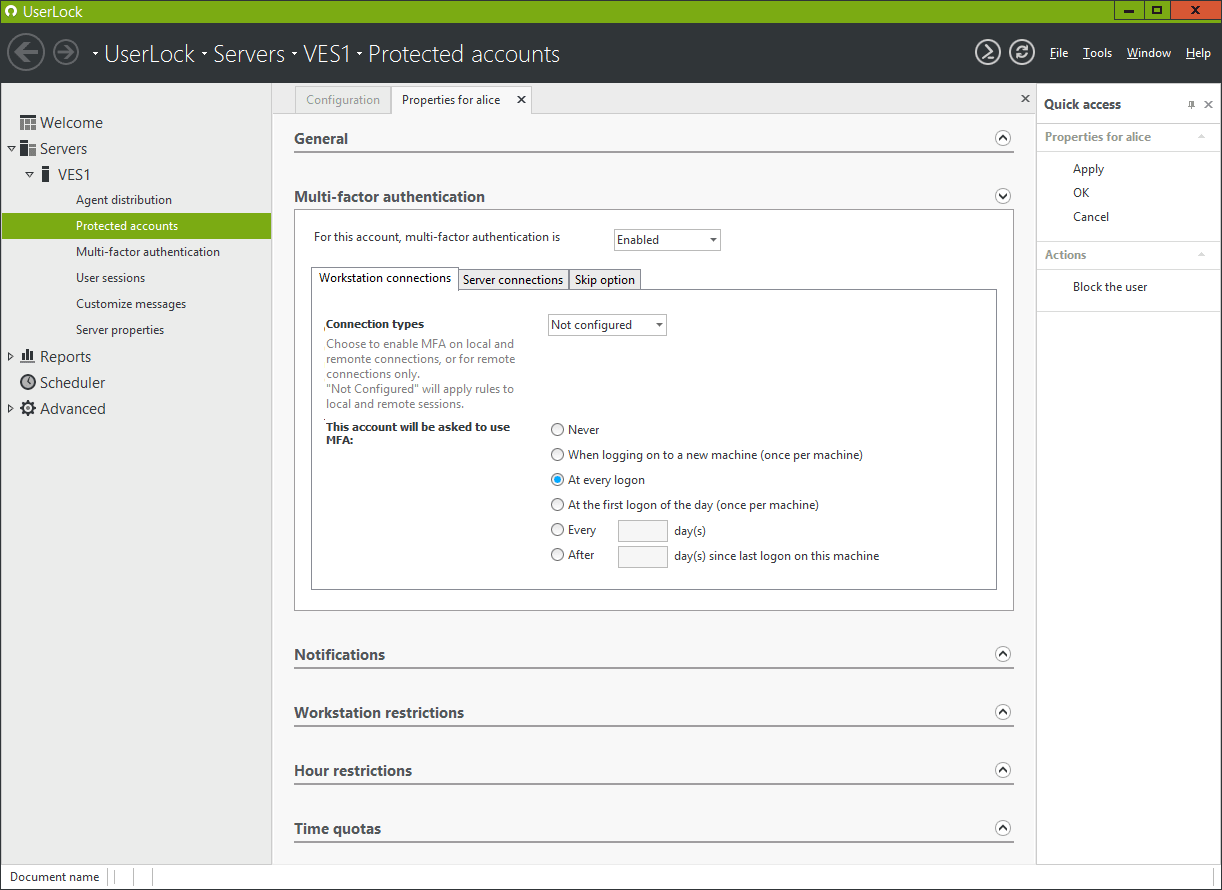
In the “Multi-factor authentication” section, set the first combo box to “Enabled” (this enables MFA for this account), then choose “At every logon” (MFA will be required at every logon to a Workstation), and validate with “OK”:
-
Open a user session
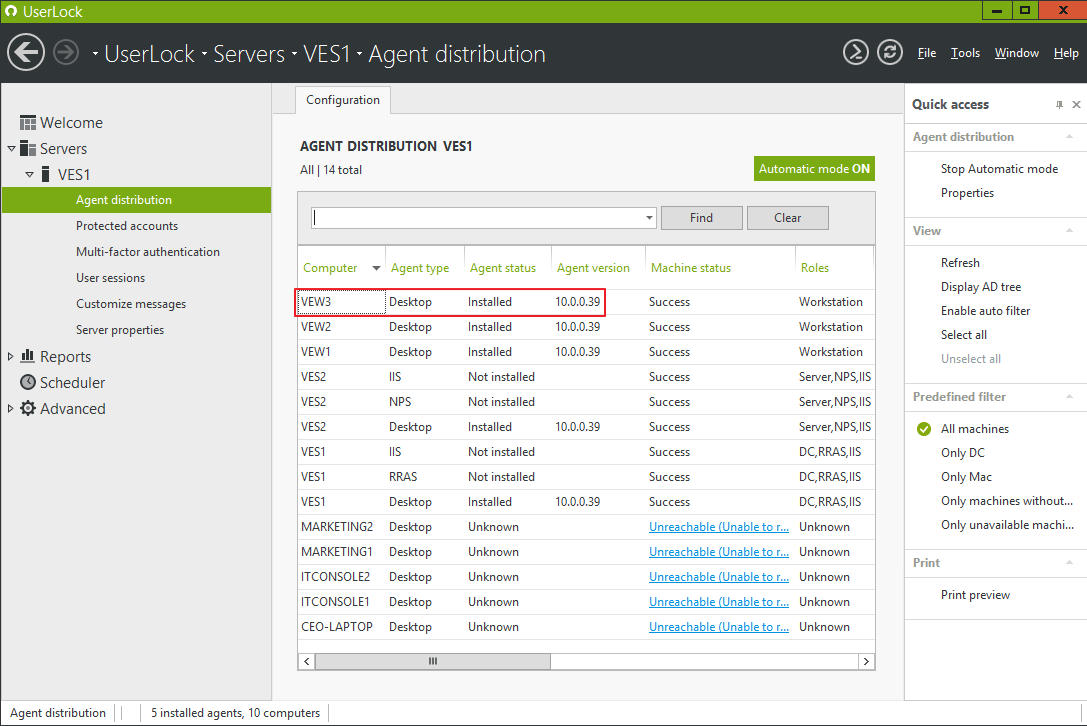
Note that MFA is only compatible with the Desktop Agent from Version 10.0. To check the agent version on the machines where you want to enable MFA, go to ‘Agent Distribution’. In this example, we will logon to “VEW3”:
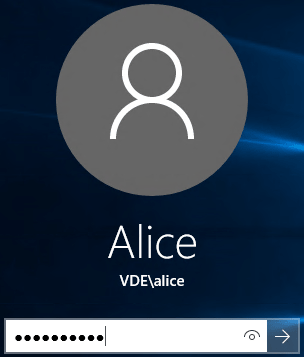
Log on VEW3 as VDE\Alice:
-
Scan the QR code
The following pop up dialog will appear:
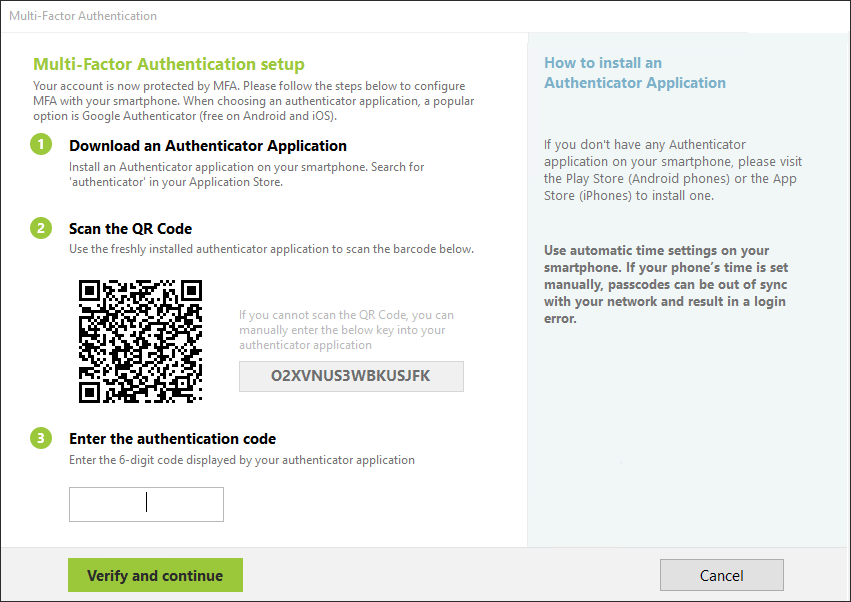
Please note:
- All texts are in the language of the OS of the machine.
- The text under the title Multi-Factor Authentication setup is customizable by UserLock administrators).
Supported languages:
English (by default), Spanish, and French. We will support more languages in future releases. Do not hesitate to send a language request to info@isdecisions.com.
Next, open the authenticator application on your smartphone. In this example, we are using Google Authenticator:
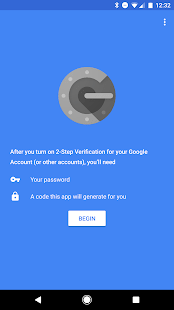
- Click “Begin”:
- In the « Add an account » step, choose « Scan a bar code »
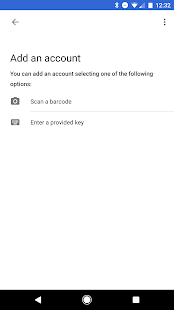
If you prefer you can choose « Enter a provided key” and then manually enter the key provided.
- The MFA code is now displayed:

-
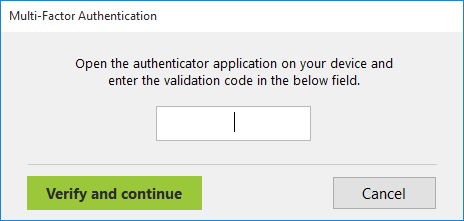
Enter the MFA code
Enter the MFA code in Step 3 “Enter the authentication code”, then select “Verify and Continue”.
In the UserLock console, you will see the related MFA logon event in the “MFA Successful” graphic in the MFA dashboard (also available in the “MFA Successful” report).
Now that MFA is configured for this account, the user will only see the following dialog box when MFA is required to log in (unless you reset the MFA key):