Define a pop-up alert
-
Click on 'Protected accounts' in the menu tree. Open the desired group protected account if it already exists by double-clicking on its corresponding line. Otherwise you can create a protected account for the target group (procedure available here).
-
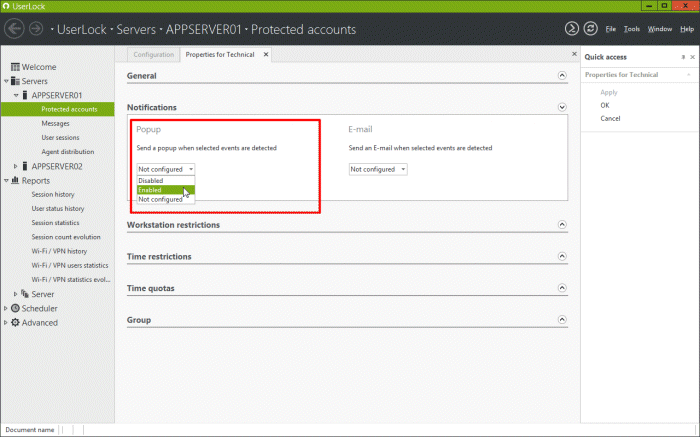
Display the 'Notifications' section.
-
Switch 'Send a pop-up when selected events are detected' to 'Enabled'.
-
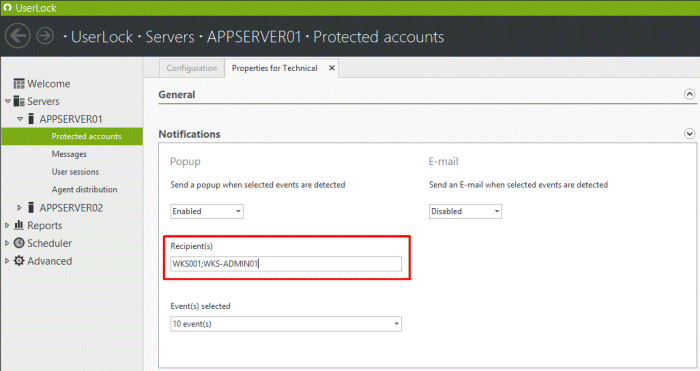
Define the pop-up recipients by entering the target machine names separated by a semicolon. Note that pop-up can only address machines.
-
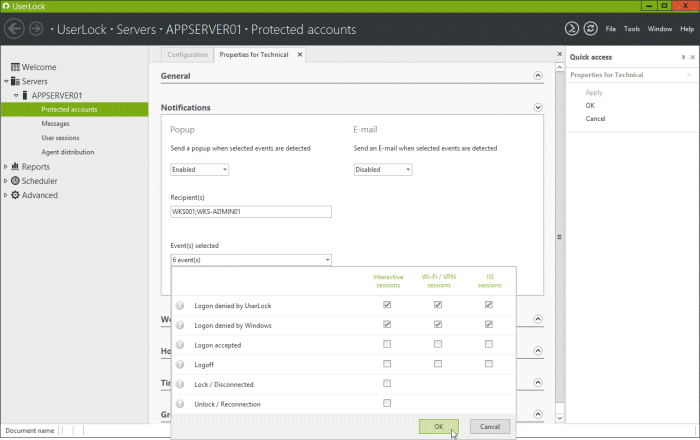
Select which connection event(s) will trigger a pop-up to be displayed on chosen machines. For example we have selected here all denied logons by UserLock and by Active Directory. Click on 'OK'.
-
The pop-up alert has now been configured. Click 'OK' in the 'Quick access' panel to save and close the protected account settings.
You can customize the pop-up message content from the 'Message' view. The notification message references are 'NOTIFICATION_SUBJECT' and 'NOTIFICATION_BODY'.
To learn more about message customization, see the use case named 'Customize messages displayed to users'.
Define an E-mail alert
-
Click on 'Protected accounts' in the menu tree. Open the desired group protected account if it already exists by double-clicking on its corresponding line. Otherwise, you can create a protected account for the target group (procedure available here).
-
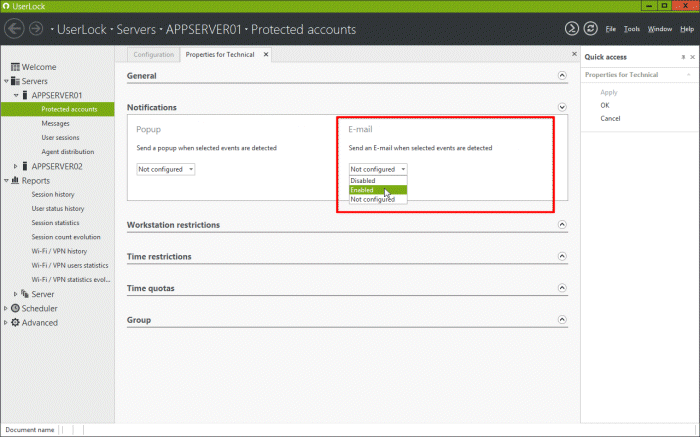
Display the 'Notifications' section.
-
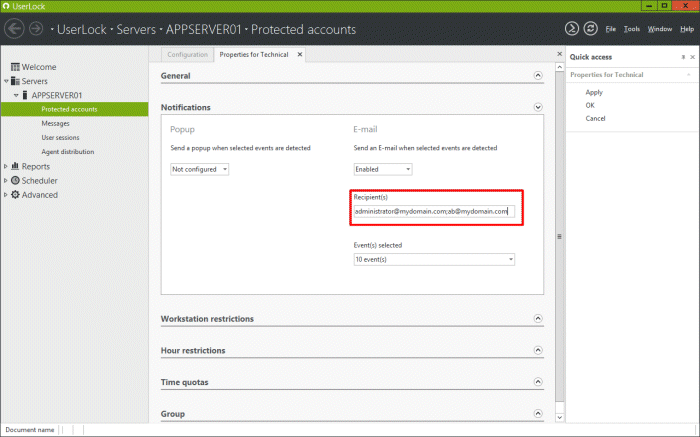
Switch 'Send an E-mail when selected events are detected' to 'Enabled'.
-
Define the E-mail recipients by entering the desired E-mail addresses separated by a semicolon.
-
Select which connection event(s) will trigger an E-mail to be sent to the chosen recipients. For example, here we have selected all denied logons by UserLock and by Active Directory. Click on 'OK'.

-
The E-mail alert has now been configured. Click 'OK' in the 'Quick access' panel to save and close the protected account settings.
You can customize the E-mail message content from the 'Message' view. The notification message references are 'NOTIFICATION_SUBJECT' and 'NOTIFICATION_BODY'.
To learn more about message customization, see the use case named 'Customize messages displayed to users'.
To learn more about these options, see the 'Protected account Notifications' help section.